Showing posts with label decor. Show all posts

Wednesday, November 13, 2013

Autumn Felt Leaves Garland Tutorial


Today I'm here sharing how to make this fun autumn leaf garland!
happy fall!

Friday, March 8, 2013

A Tour of my Frugally Furnished Home

A long, long time ago I can still remember how that music used to make me smile  I promised that I would share how I decorated my new house! Well it has been a good six months and I have yet to do that. So, although it is still incomplete, I present to you my frugally furnished home!

Kitchen  
colors: teal, red and black (well, they're supposed to be anyway)


my refrigerator is a happy place- here I display cards and photos 
felt magnets from Norm and Lou , scrabble magnet homemade

cute sign- gift from my church


Faith, hope and love signs- Hobby Lobby
Family photo frame- Target
painting- original by my sister 
free print- Kamley Lane

key rack- converted to apron rack
aprons: pink cupcakes- stein mart
beige- c/o Hershey's 
white and teal- Anthropologie, gifted
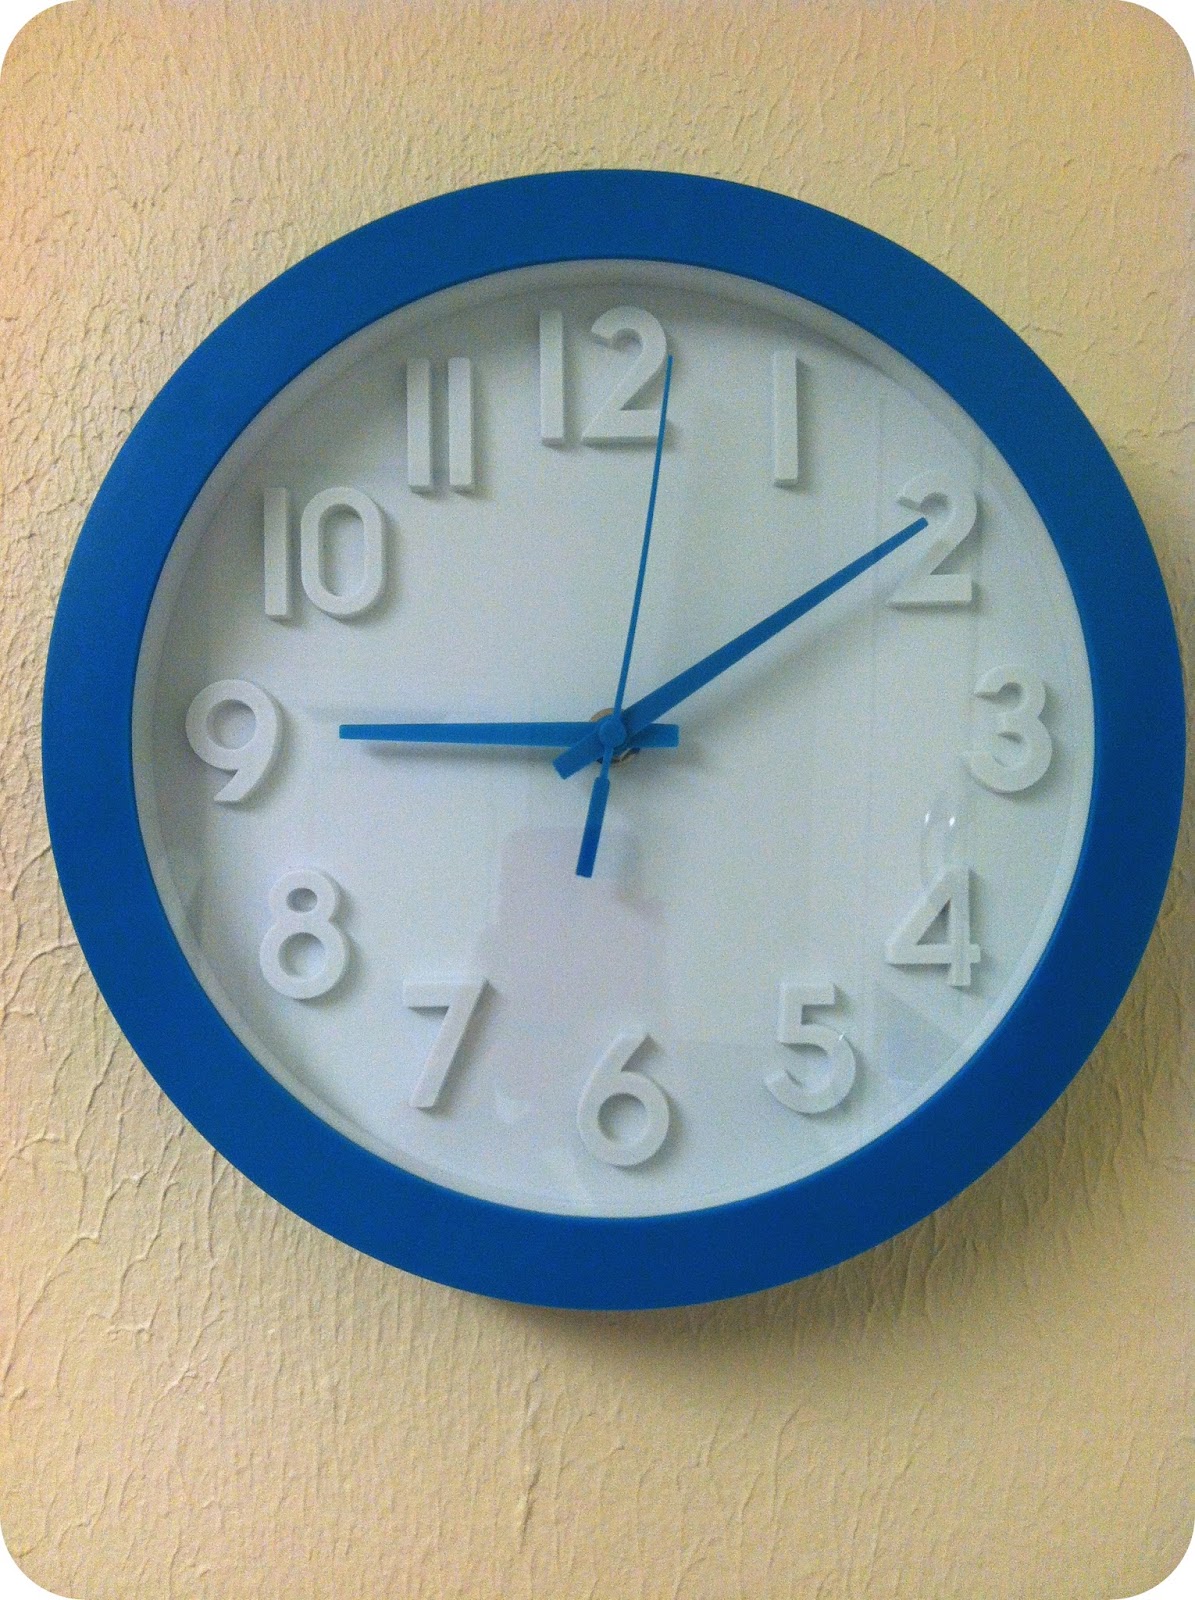
clock- Target

Living Room
colors: red, teal/turquoise, brown, beige

red couch via Craigslist (and it's amazing)
pillows, hand me downs from sister and Lauren ,
covered with fabric from Hobby Lobby
blanket won in family white elephant game

couch- from Lauren, slipcover via Target
pillows same as above

LOVE these photos of my sister, dad and I
dollar store frames spray painted

rocking chair was gifted to my mother when I was born
reupholstered by my friend Hannah
pillow from Rustic Living, won in giveaway
in the corner- bulletin board covered in fabric from Hobby Lobby

Live your life on purpose print- free from Sarah Jane Studios
fill my heart with song print- free from Danielle Burkleo
Oh taste and see print- Naptime Diaries
spray painted dollar store frames
Live and wall shelving- hand me down from when Lauren was my roommate :)


Bathroom
colors: turquoise, white, and green


do what you love and do it often print- free from How Joyful
towels, rug, trash can and shower curtain from Target


Bedroom
colors: based on the duvet cover
but, uh, some things haven't been updated since it was pink/brown

Duvet Cover- Urban Outfitters, gifted by my sister and boyfriend
sheets/pillowcases/curtains- Target


necklace bulletin board- inspired by living with Lauren

all you need is love print- free found on pinterest, similar one here
the king is enthralled print- c/o Naptime Diaries for Girls Extravaganza 
blossoms print- Glorious Within
Hope sign- gifted

Coca Cola and Dr. Pepper bottle vases
grocery store flowers

love my dresser! It was my dad's growing up and matches the bed frame
I hang my headbands on there!

Well, that completes the tour of my tiny little house! I love having my own space and finding inexpensive ways to make it feel like home. Hope y'all have a lovely weekend!

Sunday, January 9, 2011

How to Decorate a Youth Room with No Money, Part Four: Recycle what you've got!


Remember when we trimmed off the insulation board to make the bulletin boards?
Well, I took that extra strip, spray painted it with the paint from our letter project, and painted on our theme verse with some extra face painting supplies.

And voila!
A lovely accent to the wall. I attached it with the same poster hangers used on the letters and bulletin boards.

Of course, there is a bit of discrepancy in the size of the words, but I like the perfectly imperfectness of it.

Friday, January 7, 2011

How to Decorate a Youth Room with No Money, Part Three: Banners

As someone who is victim to shopping Etsy for hours, I have come across a fabulous and easy to DIY trend- banners! Whether it's fabric, paper, triangles, circles, matching, coordinating or completely mismatched, I think they're adorable.

Here are some inspiration photos for birthdays and showers:


Love. I have one in my dining room actually. But I digress.

Martha Stewart has a lovely template to make your own! find it here

Now, the template makes 3" circles but I wanted to make mine bigger so I used the PrntScr button to capture the image and enlarge it. I cut each letter out of card stock, punched holes and threaded it with curling ribbon. I traced a paper plate onto coordinating scrapbook paper and matted half of the banners with it using double stick tape.


And here's the finished product! Easy peasy :)


How to Decorate a Youth Room with No Money, Part Two: Lettering

After Christmas we got an exciting new addition to our youth room.... a ping pong table! It was a big pain to put together but now that it's all set, we have a blast before and after our worship services playing floor pong. Anyway, the table came in a gigantic cardboard box. So, to recycle the box, I decided to cut out the name of our meeting space and our ministry to post on the wall. We have a lot of wall space so I thought this would be a great way to fill some of it.
So first I traced my letters on the cardboard and then I carefully used my utility knife to cut it out. If you attempt this, be very careful! I found it easiest to pull the blade toward myself (not directly of course, I'm not that dumb). But whenever I was holding the box tightly to have maximum control of the knife, I ended up with several cardboard cuts, which are way more intense than paper cuts. Ugh.

So, finally I ended up with this:

Because it's difficult to make accurate curves with the utility knife sometimes you have to kind of just stab the cardboard until you've made the curve. Consequently, some of the letters came out a little rough or had weird sharp or misshapen edges. I used scissors to clean all the edges up and round it all out.

Then I took all the letters outside to spray paint a sage green color. I found some leftover spray paint in the office from some Welcome signs.

I set up the letters against a tree one at a time (down wind after the first try) and sprayed them green.

Now, I started off with what was leftover in the cabinet. But after 7 letters and two coats each, that can was totally empty. So at Lowe's, I picked up this stuff-


It's really made for things like outdoor furniture, but it cost the same as the Krylon and worked soooo much better. With one can, I finished all of the rest of the letters with one coat. It covered all my outlines which I missed and was actually more the color I wanted. But it did take a little longer to dry. Even when I hung the letters, it was still a little sticky.


I hung each letter with an adhesive foam poster hanger, easily removable but strong enough to hold way more than a piece of cardboard.


So for not using a level and pretty much freehanding everything, I'm pretty pleased. I really like the whole imperfect look :)

Stay tuned for more budget decorating ideas!

How to Decorate a Youth Room with No Money, Part One: DIY Bulletin Board

Since Oak Meadow Baptist Church has opened the doors to our brand new building on October 31st, the youth room has remained sadly plain due to 1) my balance of role of youth minister and full time student and 2) the lack of decorations in our previous 12' by 12' room in the portable building.

We had a small bulletin board in the room in the portable but because it would look silly in our new giant space it is now adorning my office. So I began looking for a giant board for our youth room. Buuuuut if you've ever bought a bulletin board, a regular 2' by 3' bulletin is around $30. And I
was looking for something at least 6'. Then I found this post

So first, these are the supplies you'll need to make your own:

An 8'x4' foam core insulation board- about $10 at any home improvement store


3 yards of fabric in a fun print

Duct tape and a utility blade or X-Acto knife.


Start by measuring the width of your fabric. If you need to trim the insulation board, the utility blade should make it super simple. I just kind of freehanded it because I didn't want to walk back downstairs for my measuring tape.


Then, spread the fabric out and place the board on top, face down.


Use the duct tape to tightly secure the fabric around the board, starting with the corners.


This is easiest with two people to secure the fabric really tightly, but if you're working alone like I was, you can pull sections at a time and use small pieces of tape before covering the entire outline with tape.

When taping corners, it's a lot like wrapping a gift. Don't worry about how the tape looks because no one will see the back!

Then it's done! To mount it on the wall, I used adhesive poster hangers because the board is very light and I didn't have a drill on hand to use anyway. If you do this, just be sure and space several evenly along the back and press firmly onto the wall.


Add photos, fliers, or banners and tada! Done!

This project not only makes a great bulletin board but could be used as a cool headboard or a decorative art piece. Happy crafting!

Related Posts Plugin for WordPress, Blogger...