Showing posts with label decorating. Show all posts

Friday, August 2, 2013

VBS Decorating Recap: The Classrooms

My teachers this year did a phenomenal job of making going to class seem like the kids were stepping right into a theme park! The Bible study portion of VBS was done in "Coaster Alley." At the entrance, a sign read- "you must be this tall to ride". 


In the main room where the classrooms broke off, we had one big roller coaster set up. 
The coaster was constructed from our regular kids chairs, foam pipe insulation taped in an arch over them, cardboard boxes- cut, taped together and covered in paper, and duct tape to hold it all together. 


Our Pre-K/Kinder class was too much fun. They entered under a darling awning. 


Past the ticket tree


They even had a perfect photo-opp area! 

The 1st-2nd grade class was full of thoughtful, adorable details.


 On the first day, the teachers took photos of the students and attached their photo in the roller coaster cars! Too cute!


Would you believe our 3rd-4th grade class was decorated by two college guys? They did an awesome job!


And finally, our 5th-6th graders had more fun details in their room!


We also had multi-colored pennant banners made from construction paper and curling ribbon throughout the hallways in addition to balloons and streamers- fun and cheap ways to add pops of color throughout!


What do you use as inspiration for your classrooms?


Tuesday, July 30, 2013

VBS Decorating Recap: The Sanctuary

This year was my first year serving as VBS Director, ever. It was also our church's first year to take part in a full-out-canvas-the-neighborhoods-decorate-every-inch-of-the-church-themed-everything VBS. It was definitely a learning experience for everyone involved (especially me!) but God truly blessed our efforts by changing lives with His truth.  

For anyone still preparing for the Colossal Coaster World VBS, I want to share how we decorated and prepared! Pinterest was an invaluable resource to us- providing tons of inspiration for every facet of VBS, with real life examples from real churches. I definitely recommend checking out Pinterest before making a plan!

Our sanctuary served as the "Main Gate" during Colossal Coaster World, where we held our opening and closing worship rallies. Our largest projects were placed here for maximum effect. 

First, we built a roller coaster from foam pipe insulation and painted stir sticks. The pipe insulation was about $1 per 6' segment. The stir sticks were free from Wal-Mart and Home Depot. It was looped above the stage, attached to our main lighting panels. 


I also built a (very poorly structurally engineered) Ferris wheel. I wanted something larger than life so I used giant foam insulation board sheets to cut out my base. Each sheet was about $13. Each leg was 4 feet long. I used a craft knife to cut out each piece from the foam board, painted it with acrylic paint, and attached everything with duct tape. Yay duct tape. I don't recommend this method to others- it Ferris wheel was too heavy for the legs and wasn't as distinguishable as a Ferris wheel as I had hoped. Still colorful and fun though!


Instead of removing the drum kit and cage from our sanctuary stage, we camouflaged it as a giant circus tent! My volunteers simply covered it with painted butcher paper. Voila! 


For the direct center, I painted a giant sign with the VBS logo on it in the corresponding colors. We supplemented the sign with trees, cut from the same insulation board as the Ferris wheel. 


It came together quite nicely! 


We also prepared the entrance to the Main Gate- cheap crepe paper streamers taped along the doors, Main Gate label cut from butcher paper, an Enter sign and turnstile.

The Enter sign was cut from foam insulation board, then covered with butcher paper and painted.  


The turnstile was created from a box, turned over and spray painted silver. The turning knobs were tissue paper covered in duct tape. I'm sure there's a better way to do that but it worked for us!

Our Main Gate area was fun and cheery! It set the mood for our entire day at VBS. What ideas or themes did you incorporate with your VBS this year? 

Friday, March 8, 2013

A Tour of my Frugally Furnished Home

A long, long time ago I can still remember how that music used to make me smile  I promised that I would share how I decorated my new house! Well it has been a good six months and I have yet to do that. So, although it is still incomplete, I present to you my frugally furnished home!

Kitchen  
colors: teal, red and black (well, they're supposed to be anyway)


my refrigerator is a happy place- here I display cards and photos 
felt magnets from Norm and Lou , scrabble magnet homemade

cute sign- gift from my church


Faith, hope and love signs- Hobby Lobby
Family photo frame- Target
painting- original by my sister 
free print- Kamley Lane

key rack- converted to apron rack
aprons: pink cupcakes- stein mart
beige- c/o Hershey's 
white and teal- Anthropologie, gifted

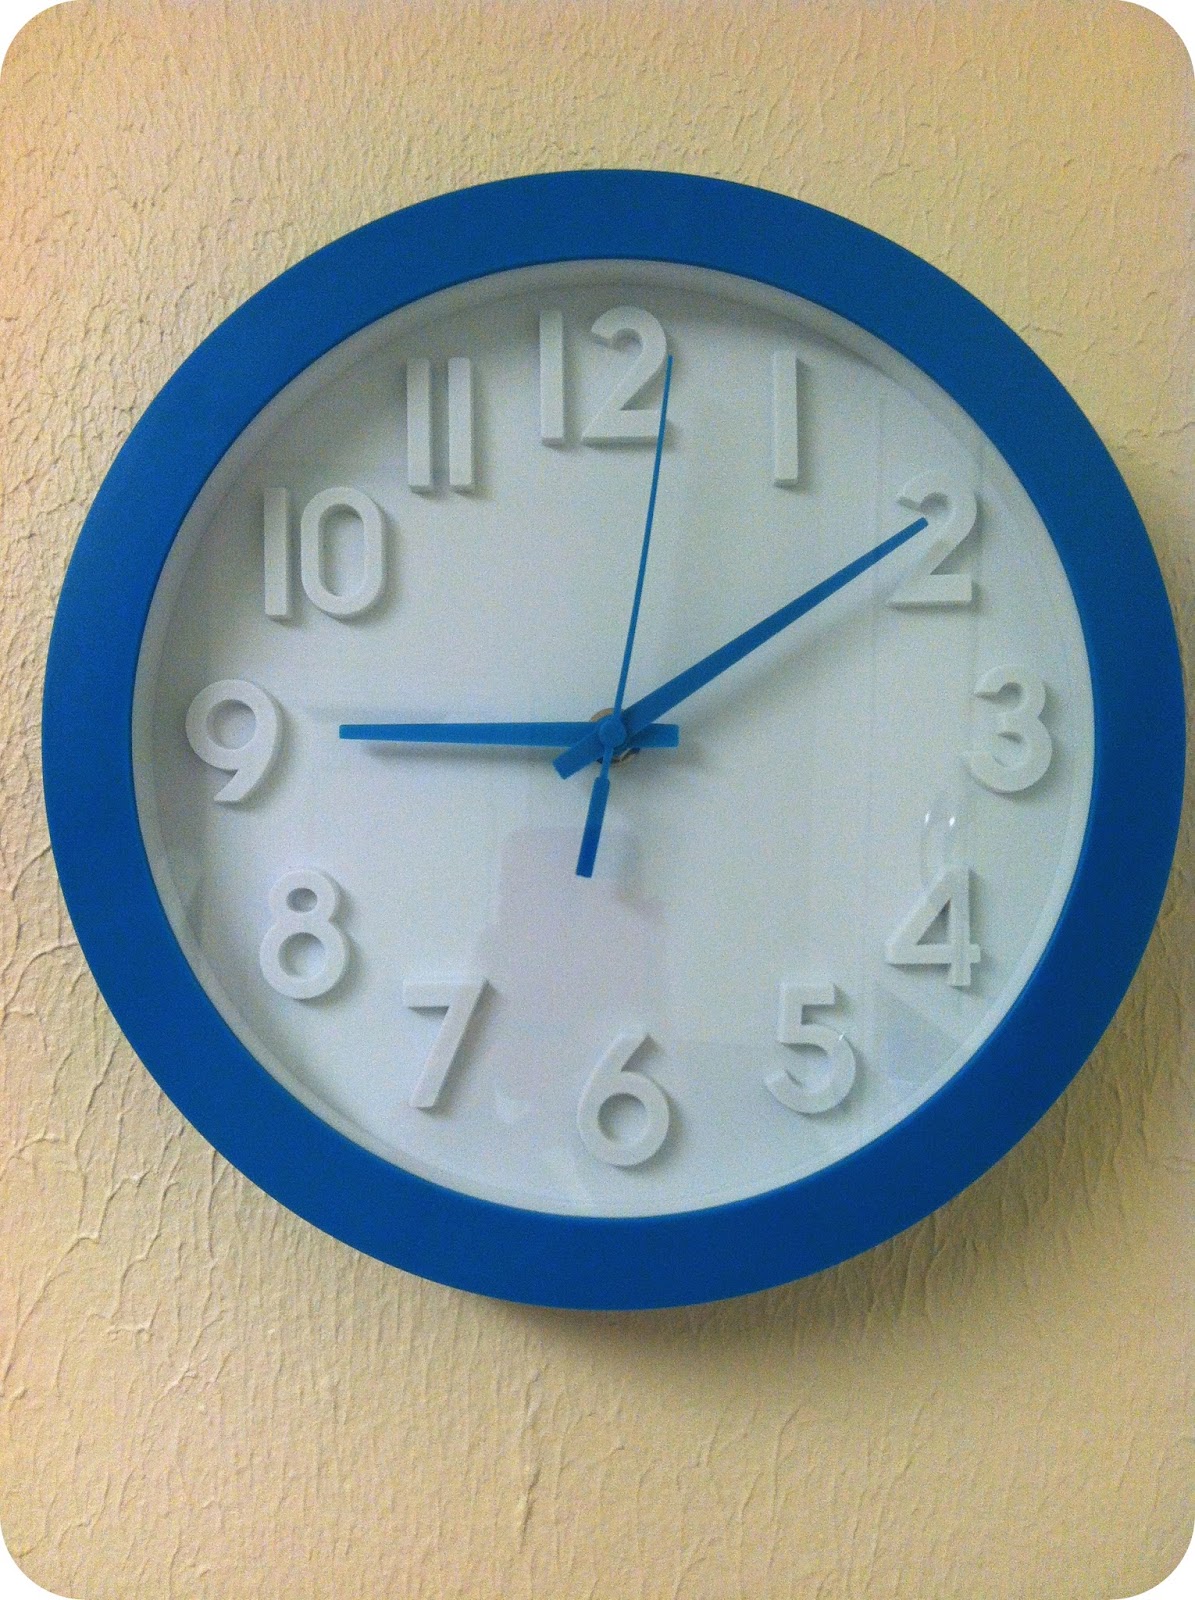
clock- Target

Living Room
colors: red, teal/turquoise, brown, beige

red couch via Craigslist (and it's amazing)
pillows, hand me downs from sister and Lauren ,
covered with fabric from Hobby Lobby
blanket won in family white elephant game

couch- from Lauren, slipcover via Target
pillows same as above

LOVE these photos of my sister, dad and I
dollar store frames spray painted

rocking chair was gifted to my mother when I was born
reupholstered by my friend Hannah
pillow from Rustic Living, won in giveaway
in the corner- bulletin board covered in fabric from Hobby Lobby

Live your life on purpose print- free from Sarah Jane Studios
fill my heart with song print- free from Danielle Burkleo
Oh taste and see print- Naptime Diaries
spray painted dollar store frames
Live and wall shelving- hand me down from when Lauren was my roommate :)


Bathroom
colors: turquoise, white, and green


do what you love and do it often print- free from How Joyful
towels, rug, trash can and shower curtain from Target


Bedroom
colors: based on the duvet cover
but, uh, some things haven't been updated since it was pink/brown

Duvet Cover- Urban Outfitters, gifted by my sister and boyfriend
sheets/pillowcases/curtains- Target


necklace bulletin board- inspired by living with Lauren

all you need is love print- free found on pinterest, similar one here
the king is enthralled print- c/o Naptime Diaries for Girls Extravaganza 
blossoms print- Glorious Within
Hope sign- gifted

Coca Cola and Dr. Pepper bottle vases
grocery store flowers

love my dresser! It was my dad's growing up and matches the bed frame
I hang my headbands on there!

Well, that completes the tour of my tiny little house! I love having my own space and finding inexpensive ways to make it feel like home. Hope y'all have a lovely weekend!

Wednesday, May 16, 2012

Rose Cake Tutorial


Let me just preface this post by saying that I finished this cake late at night,
documented it with iPhone pictures and sold it the next day. 
But I think even without pretty pictures you can see how striking the decorating looked 
(and it was even better in person!)
So I wanted to share how you could do this yourself.
It was so easy it's almost embarrassing to admit...
but would be so perfect for your birthday princess or baby showers or bridal showers!


First, whip up a batch of vanilla Swiss meringue buttercream (recipe below)
You could also sub in your favorite buttercream recipe. You just need something that will hold its shape well. I added a tiny dab of pink gel food coloring to give it a rosy hue.

You'll also need a Wilton 1M frosting tip (or any large open star tip) and a pastry bag. You can also use a ziploc bag, but just be aware that if you squeeze too hard the seams can burst!

I got my frosting tip for about $1 at Wal-Mart.

Using your aforementioned tools, begin piping roses on the sides of your cake. This will be simpler if your cake is sitting on a plate without any extra space on the edges. Note- my weird flat bottomed flowers . 

Starting in the center, pipe a spiral to the desired size. Continue around the edge of the cake until you have roses all the way around.


 Then, beginning in the center of the top of the cake, pipe roses of a similar size, working around the center with the same method. 


Fill in any spaces between your roses by piping in the same direction as the rose closest to it, in a curve.

And voila! You're done! Refrigerate to help the roses set and enjoy.
The same method would be so simple for cupcakes- just one rose per cupcake!

Vanilla Swiss Meringue Buttercream 
What You'll Need:
5 large egg whites
1 cup plus 2 tbsp sugar
Pinch of salt
1 lb (4 sticks) unsalted butter, at room temperature
2 tsp vanilla extract

What To Do:
Combine the egg whites, sugar and salt in a heatproof bowl set over a pot of simmering water. Heat, whisking frequently, until the mixture reaches 160 degrees and the sugar has dissolved. 

Transfer the mixture to the bowl of a stand mixer fitted with the whisk attachment. Beat on medium-high speed until stiff peaks form and the mixture has cooled to room temperature, about 8 minutes.

Reduce the speed to medium and add the butter, 2 tbsp at a time, adding more as each addition is incorporated. Stir in the vanilla extract and mix just until incorporated. Tint with gel color as desired. 

Keep at room temperature if using the same day, or transfer to an airtight container and refrigerate up to 3 days or freeze up to one month. Before using, bring to room temperature and beat with the paddle attachment on low speed until smooth again.

Be sure to check out Shawnda's tips on fixing your frosting 
when it doesn't cooperate. I've used these and they work like a charm!

Frosting recipe from Annie's Eats, adapted from Martha Stewart
Rose Tutorial adapted from I Am Baker

Friday, April 20, 2012

New Home Inspiration: Bedroom Edition

In August, I'll be moving to Ft Worth, and for the first time ever, living by myself.

It's gotten me thinking though. 
If, for the first time ever, 
I'm not sharing spaces and can have complete control over what kind of colors, 
motifs and overall vibes go into my home, what kind of space do I want to create? 

There are a couple of conditions going into this decision process.
  1. Any new purchases must be affordable. [I'm talkin Goodwill and Craigslist affordable.] 
  2. I must make use of what I already have. 
  3. The end result should be a place that is: a reflection of my personality/taste, relaxing, and somewhere that I want to spend time.
(I don't know about you guys, but clutter, disorganization and some color combos actually stress me out! I know that's totally weird, but I want to be sure that as I'm planning I remember that.)

So here is my initial inspiration for my bedroom

current:


Right now my bedroom looks like a middle school girls room. Don't get me wrong, I LOVE my polka dots, but I'd like to retire the bedspread and photo collages and invest in a more mature color palette. 

So, since I already have a beautiful matching bed frame and dresser+mirror in a rustic brown (and by rustic brown, I mean it's made of wood, old and worn down) , plus a brown upholstered rocking chair, and brown sheets for the bed... I'm sticking with brown as a solid neutral.

To that, I'll  be adding white, deep purple, and pops of turquoise! 


Kinda like this
(pinned here)


Replacing the beige comforter with a crisp basic white bedspread

Replacing the polka dot blanket with a deep purple, ruffled blanket.
Instead of purchasing this beauty from Urban Outfitters, my roommate and I are going to team up DIY it!


.... using this tutorial.

Personalizing throw pillows I already have with brightly patterned cases 
and handmade embellishments like this in purple, turquoise, white and brown


Add art to the walls by printing out and framing free printables


and making use of my Naptime Diaries, Willow of Wonder, and Magnolia Moonlight prints
by spray painting cheap frames in coordinating colors.

What do you think? 

Related Posts Plugin for WordPress, Blogger...