Showing posts with label cheap. Show all posts

Friday, March 8, 2013

A Tour of my Frugally Furnished Home

A long, long time ago I can still remember how that music used to make me smile  I promised that I would share how I decorated my new house! Well it has been a good six months and I have yet to do that. So, although it is still incomplete, I present to you my frugally furnished home!

Kitchen  
colors: teal, red and black (well, they're supposed to be anyway)


my refrigerator is a happy place- here I display cards and photos 
felt magnets from Norm and Lou , scrabble magnet homemade

cute sign- gift from my church


Faith, hope and love signs- Hobby Lobby
Family photo frame- Target
painting- original by my sister 
free print- Kamley Lane

key rack- converted to apron rack
aprons: pink cupcakes- stein mart
beige- c/o Hershey's 
white and teal- Anthropologie, gifted
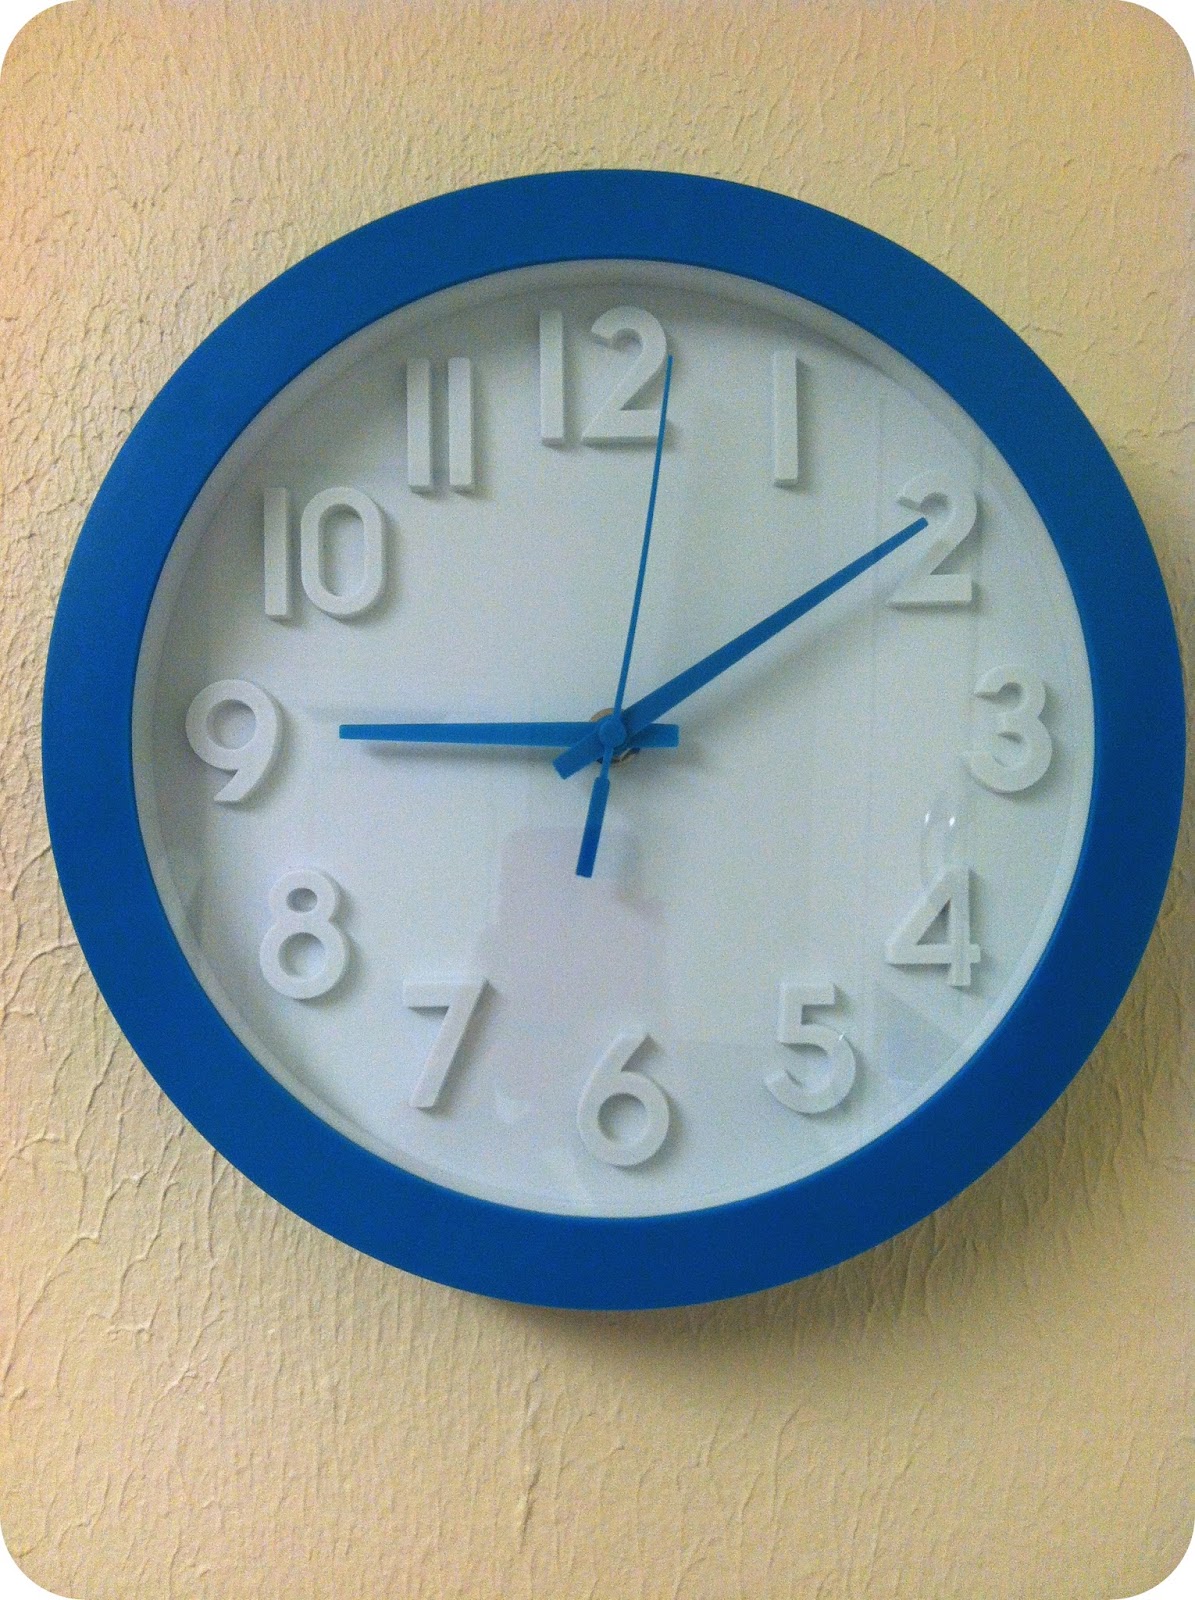
clock- Target

Living Room
colors: red, teal/turquoise, brown, beige

red couch via Craigslist (and it's amazing)
pillows, hand me downs from sister and Lauren ,
covered with fabric from Hobby Lobby
blanket won in family white elephant game

couch- from Lauren, slipcover via Target
pillows same as above

LOVE these photos of my sister, dad and I
dollar store frames spray painted

rocking chair was gifted to my mother when I was born
reupholstered by my friend Hannah
pillow from Rustic Living, won in giveaway
in the corner- bulletin board covered in fabric from Hobby Lobby

Live your life on purpose print- free from Sarah Jane Studios
fill my heart with song print- free from Danielle Burkleo
Oh taste and see print- Naptime Diaries
spray painted dollar store frames
Live and wall shelving- hand me down from when Lauren was my roommate :)


Bathroom
colors: turquoise, white, and green


do what you love and do it often print- free from How Joyful
towels, rug, trash can and shower curtain from Target


Bedroom
colors: based on the duvet cover
but, uh, some things haven't been updated since it was pink/brown

Duvet Cover- Urban Outfitters, gifted by my sister and boyfriend
sheets/pillowcases/curtains- Target


necklace bulletin board- inspired by living with Lauren

all you need is love print- free found on pinterest, similar one here
the king is enthralled print- c/o Naptime Diaries for Girls Extravaganza 
blossoms print- Glorious Within
Hope sign- gifted

Coca Cola and Dr. Pepper bottle vases
grocery store flowers

love my dresser! It was my dad's growing up and matches the bed frame
I hang my headbands on there!

Well, that completes the tour of my tiny little house! I love having my own space and finding inexpensive ways to make it feel like home. Hope y'all have a lovely weekend!

Tuesday, December 11, 2012

Crock Pot Peppermint Mocha


I made a batch of this Peppermint Mocha for a day-long finals study session. I loved that I could whip it up the night before, refrigerate and then keep it warm in the crock pot the next day. I also loved that I had most of these ingredients on hand, saving me some serious money that I could have spent at a coffee shop. I made double this recipe and adjusted flavors by taste. I used instant coffee, 2% milk and heavy cream, and a mix of white and semi-sweet chocolate chips. SO GOOD.

It is creamy and sweet, with a hint of refreshing peppermint. A reminder of this sweet, refreshing season. Christmas in a cup. 

One of my favorite family traditions is our Christmas Eve brunch. We go all out with bacon, sausage, eggs, hashbrowns, scones, quiche, kolaches, French toast, and/or cinnamon rolls. This peppermint mocha would be a fantastic addition to our traditional feast (if any of my other family members would drink it, that is)

It would be great for Christmas mornings too!


What You'll Need:
  • 4 cups milk
  • Either 4 shots of espresso, 4 rounded teaspoons instant espresso powder plus 1½ cups water, or 2 cups very strong brewed coffee
  • ¾ cup semi-sweet chocolate chips
  • ¼ cup peppermint syrup
  • Whipping cream and shaved chocolate bar for garnish

Peppermint syrup
  • 1 cup sugar
  • 1 cup water
  • 2 teaspoons peppermint extract
What To Do:
  1. First prepare the peppermint syrup. In a small saucepan over medium heat, bring the water and sugar to a boil, stirring until sugar is dissolved. Remove from heat and stir in the peppermint extract. Store in an airtight container in the refrigerator for up to 3 months.
  2. Make your peppermint mochas: In a 3-quart or larger slow cooker/Crock Pot, stir together the milk, espresso/coffee, chocolate chips, and peppermint syrup.
  3. Cook covered on low for about 2 hours, stirring occasionally to help distribute the melting chocolate, until steaming. You can also cook it on high for about an hour and fifteen minutes (depending on your slow cooker), stirring often – just watch it a little more carefully when the slow cooker is on high. Reduce heat to warm and keep covered once the mocha has heated to steaming. Taste and adjust flavors as desired. 
  4. Serve in festive mugs, topped with whipped cream and garnish with a candy cane, chocolate shavings or a sprinkle of cocoa. Enjoy your Christmas in a cup.


recipe from Kitchen Treaty


Wednesday, June 20, 2012

What I Wore: #cheapgirlfashion

It all started when I took a self portrait 
(see below)
and realized that I looked pretty cute but was wearing very thrifty/inexpensive things

[$3 Forever 21 sunglasses, $5 Sam Moon faux pearls, and $3 clearance JCPenney top]

And then I realized that most of the time I'm wearing thrifty/inexpensive things

[$3 Forever 21 sunglasses, $0.50 Claire's necklace (from way back when), $5 Ann Taylor Loft top via Goodwill]

And so, #cheapgirlfashion was born. You can follow me on Instagram (chelsealynae) for more fun and thrifty outfits! 

[$5 clearance Charlotte Russe top, $2 mint sorbet nail polish]


This may be one of my favorite thrifty outfits to date!

[hand me down cardigan, $2 Old Navy dress via garage sale, $3 Forever 21 belt, and Blowfish Shoes won in a blog giveaway]
(sans pedicure. not cute.)

I'm loving Goodwill, blog giveaways, Forever 21 for accessories, clothes swaps and hand me downs! I'll take your old clothes. No shame here. 

You see, consumerism invades so much of my perspective
but I want to live my life through God's perspective.
I want to be a good steward of the things God has given me.
So, in my life, that means not stressin over beautiful, expensive clothes
But rather investing my money and time into my students and my church
(and food also, apparently, because I eat a lot).

What's your favorite way to save money and stay fashionable?

Friday, May 25, 2012

Homemade Ice Blended Frappe


I've been attempting to make Starbucks Frappucinnos at home for years and was never satisfied. Either the coffee was too weak, granulated sugar made it grainy, the flavor mix-ins didn't flavor it consistently or the ice/liquid would separate in a mess. So I'd end up spending $5 just trying to make one anyway. 


However, I have recently been able to make ones I love! My students have even requested it on several occasions. And, according to the recipe, it saves you 92% of the cost of going to Starbucks!


The secret ingredient is xanthan gum- just a pinch will help keep the ice+ liquid blended! I found xanthan gum with the specialty baking supplies. It is regularly used in gluten free baking, so your store may have it in the gluten-free section. It is a bit pricey, but it only takes a tiny amount per frappe. (Be sure not to use more than a pinch or else your frappe will taste like lotion. No kidding.)


I use Torani syrups to flavor my frappes/lattes and love them. My favorite flavor to use is caramel! However, you can easily make your own syrups! Check out these from Annie's Eats.


What You'll Need:
  • 1 cup double-strength Starbucks coffee OR 3/4 cup fresh espresso (cold)
  • 3/4 cup milk 
  • 2 tbsp flavored syrup (or to taste)
  • 2 cups ice
  • Secret ingredient: Pinch of xanthan gum OR 1 teaspoon dry pectin 
What To Do:

Blend all of the ingredients until smooth and creamy! Taste and adjust accordingly. Serve immediately. You can also store in the fridge and re-blend when you're ready. 

Recipe adapted from Squawk Fox.


Thursday, May 3, 2012

The Girl Behind the Blog: Beauty Products Edition

Today, I'm linking up with Ashley at 5ohWifey and Jenna at The Life of the Wife 
for part three of the Girl Behind the Blog series! 
Today's topic is about our favorite beauty products

5ohwifey

I'm no expert but I'm sharing what works for me and is super affordable!

Also, please note.
I normally look something like this


So you may or may not want to take my advice ;) 
Enjoy! 


If you don't have time to listen, 
I recommend Revlon's Color Last Eyeliner in Brown
and Maybelleine's Great Lash mascara! 
Oh, and a microfiber washcloth for taking it off. 

*note- I do know that just because you wear black eyeliner does not mean you party every night, nor do I judge said party-goers. And it looks really awesome on lots of girls! When I wear black eyeliner it's a bit much! Sorry!*

**that "bye" is ridiculous. I thought I edited it out! ha, that is a glimpse into my East Texas background. Enjoy :)**

Thank you Ashley and Jenna for hosting!
Happy weekend, y'all! 

Friday, April 20, 2012

New Home Inspiration: Bedroom Edition

In August, I'll be moving to Ft Worth, and for the first time ever, living by myself.

It's gotten me thinking though. 
If, for the first time ever, 
I'm not sharing spaces and can have complete control over what kind of colors, 
motifs and overall vibes go into my home, what kind of space do I want to create? 

There are a couple of conditions going into this decision process.
  1. Any new purchases must be affordable. [I'm talkin Goodwill and Craigslist affordable.] 
  2. I must make use of what I already have. 
  3. The end result should be a place that is: a reflection of my personality/taste, relaxing, and somewhere that I want to spend time.
(I don't know about you guys, but clutter, disorganization and some color combos actually stress me out! I know that's totally weird, but I want to be sure that as I'm planning I remember that.)

So here is my initial inspiration for my bedroom

current:


Right now my bedroom looks like a middle school girls room. Don't get me wrong, I LOVE my polka dots, but I'd like to retire the bedspread and photo collages and invest in a more mature color palette. 

So, since I already have a beautiful matching bed frame and dresser+mirror in a rustic brown (and by rustic brown, I mean it's made of wood, old and worn down) , plus a brown upholstered rocking chair, and brown sheets for the bed... I'm sticking with brown as a solid neutral.

To that, I'll  be adding white, deep purple, and pops of turquoise! 


Kinda like this
(pinned here)


Replacing the beige comforter with a crisp basic white bedspread

Replacing the polka dot blanket with a deep purple, ruffled blanket.
Instead of purchasing this beauty from Urban Outfitters, my roommate and I are going to team up DIY it!


.... using this tutorial.

Personalizing throw pillows I already have with brightly patterned cases 
and handmade embellishments like this in purple, turquoise, white and brown


Add art to the walls by printing out and framing free printables


and making use of my Naptime Diaries, Willow of Wonder, and Magnolia Moonlight prints
by spray painting cheap frames in coordinating colors.

What do you think? 

Monday, January 9, 2012

Beans a la Charra


I'm submerged in Hispanic culture a lot of the time
<3
And let me tell you, it's improved my accent 
on my poorly spoken Spanish
and definitely increased my awareness of and
 cravings for delicious Hispanic foods!

Fajitas
Enchiladas
Botanas 
(only in the Valley- can someone in Austin PLEASE make these?!)
Tamales
Tacos 
Carne Guisada
and the list goes on and on...

But a staple to go with any dish
is a good pot of beans

I used to be satisfied with canned refried beans
but as part of my goal to not used as many processed foods
and because these are just SO much better
I attempted this recipe. 
Besides the bacon/salt pork, the ingredients are super cheap
and the final product is very filling!


What You'll Need:
1 pound of pinto beans (2 cups)
1/4 tablespoons of minced garlic (3 large cloves)
1 cup diced onion (1/2 of a medium-sized onion)
1/4 cup of jalapeno juice (from canned jalapenos)
1/4 pound of salt pork (near the bacon at the grocery store)
Salt to taste
4 slices of bacon, chopped into 1-inch pieces
2 cups fresh chopped tomatoes or one 14 oz. canned, diced tomatoes with sauce
3 jalapenos, chopped
2 chipotles in adobo, chopped
1 cup of chopped cilantro 

What To Do:
1. Rinse and sort your beans
2. First soak the beans. You can either cover the beans with one inch of water and soak overnight or bring water to a boil, remove from heat and cover for one hour. (I did the quick soak and they still turned out fine!)
3. Drain the beans and cover with seven cups of fresh water.
4. Add to the pot the garlic, onion, jalapeno juice and salt pork.
5. Bring pot to a boil and then cover and reduce heat to a simmer, stir occasionally.
6. After about an hour, remove the salt pork and begin prepping the other ingredients.
7. Cook bacon in a skillet until crisp.
8. Add tomatoes, jalapenos, chipotles and cilantro to the skillet, and cook on medium for 10 minutes.
9. Let tomato-bacon mixture cool, add one cup of bean juice (or water) and then puree.
10. Stir puree into beans and let simmer together for 20 minutes.
11. Alternatively, if you prefer a chunkier texture, you could skip the puree step and add the tomato-bacon mixture straight to the bean pot. (I definitely prefer the chunkier version 

And that's it! 
Really, the longer you simmer these, the better they are. 
And they make excellent leftovers!


Monday, December 5, 2011

Handmade Christmas Gift Idea #2: Infinity Jersey Scarf

If you thought the ruffle scarf was a simple T shirt project, check this out!

You'll need:
1 XL T shirt (or larger)
scissors

Cut the bottom hem off of the shirt completely. 

Cut across the T shirt, under the sleeves, leaving you with large loop of T shirt fabric (and a very tacky cut off shirt ;) )

Then, stretch the fabric! I stepped on the inside of the loop and pulled up. You can also loop it around a door knob and pull. After you stretch, you have a jersey infinity scarf. The rough edges curl in and won't fray. 

Wear it in one large loop


Or double loop it! 


So easy. 
T shirts 4/$10 at JoAnn's. 
Perfect accessory in so many colors!

Step by Step tutorial here


Thursday, December 1, 2011

Handmade Christmas Gift Idea #1: Ruffled Jersey Scarf

I'm sure if you're a pinner, you've seen it. 

Well over Thanksgiving, my mother, sister and I 
all made scarves and wore them in our family photos. 
They took maybe thirty minutes each to make, 
(but we were watching football so we were a little distracted) 
involved no sewing and turned out really cute!

You'll need:
1 XL T-shirt (or larger)
Good scissors
fabric glue (optional)
Begin by cutting large circles from the T shirt. 
We used a paper plate as a guide. 
Don't worry if you have rough edges 
or if your circles aren't perfect. 
It won't matter later!


From the outside, cut a spiral in the circle, 
maintaining about the same width as you go. 


Gently pull on the two ends of the spiral to stretch the fabric slightly 
(but be careful because I ripped one of mine by stretching it too hard)
It forms a long ruffle!
The end which was the center of the circle will be
 more tightly ruffled than the outside.


Depending on your T shirt, you should be able to cut 8-12 circles.
Secure them together by tying a strip of t shirt fabric around the center with a knot
Or secure with fabric glue

Wear with your favorite fall/winter outfit for a cutesy pop of color!


We got our T shirts at JoAnn's for $2.50 each.
You could also upcycle old T shirts that you don't wear anymore.
Even if they have print on them, use several to make a multicolored ruffle scarf.
I did just that to make a gameday scarf for next football season!

This is definitely going to be a gift for my three roommates this year.
And at $2.50 each?
It might be a gift for all my aunts and cousins as well!

Have you attempted T shirt scarves? How did yours turn out?
Related Posts Plugin for WordPress, Blogger...