Showing posts with label craft. Show all posts

Wednesday, November 13, 2013

Autumn Felt Leaves Garland Tutorial


Today I'm here sharing how to make this fun autumn leaf garland!
happy fall!

Tuesday, June 18, 2013

DIY Elmer's Glue Dye Shirts

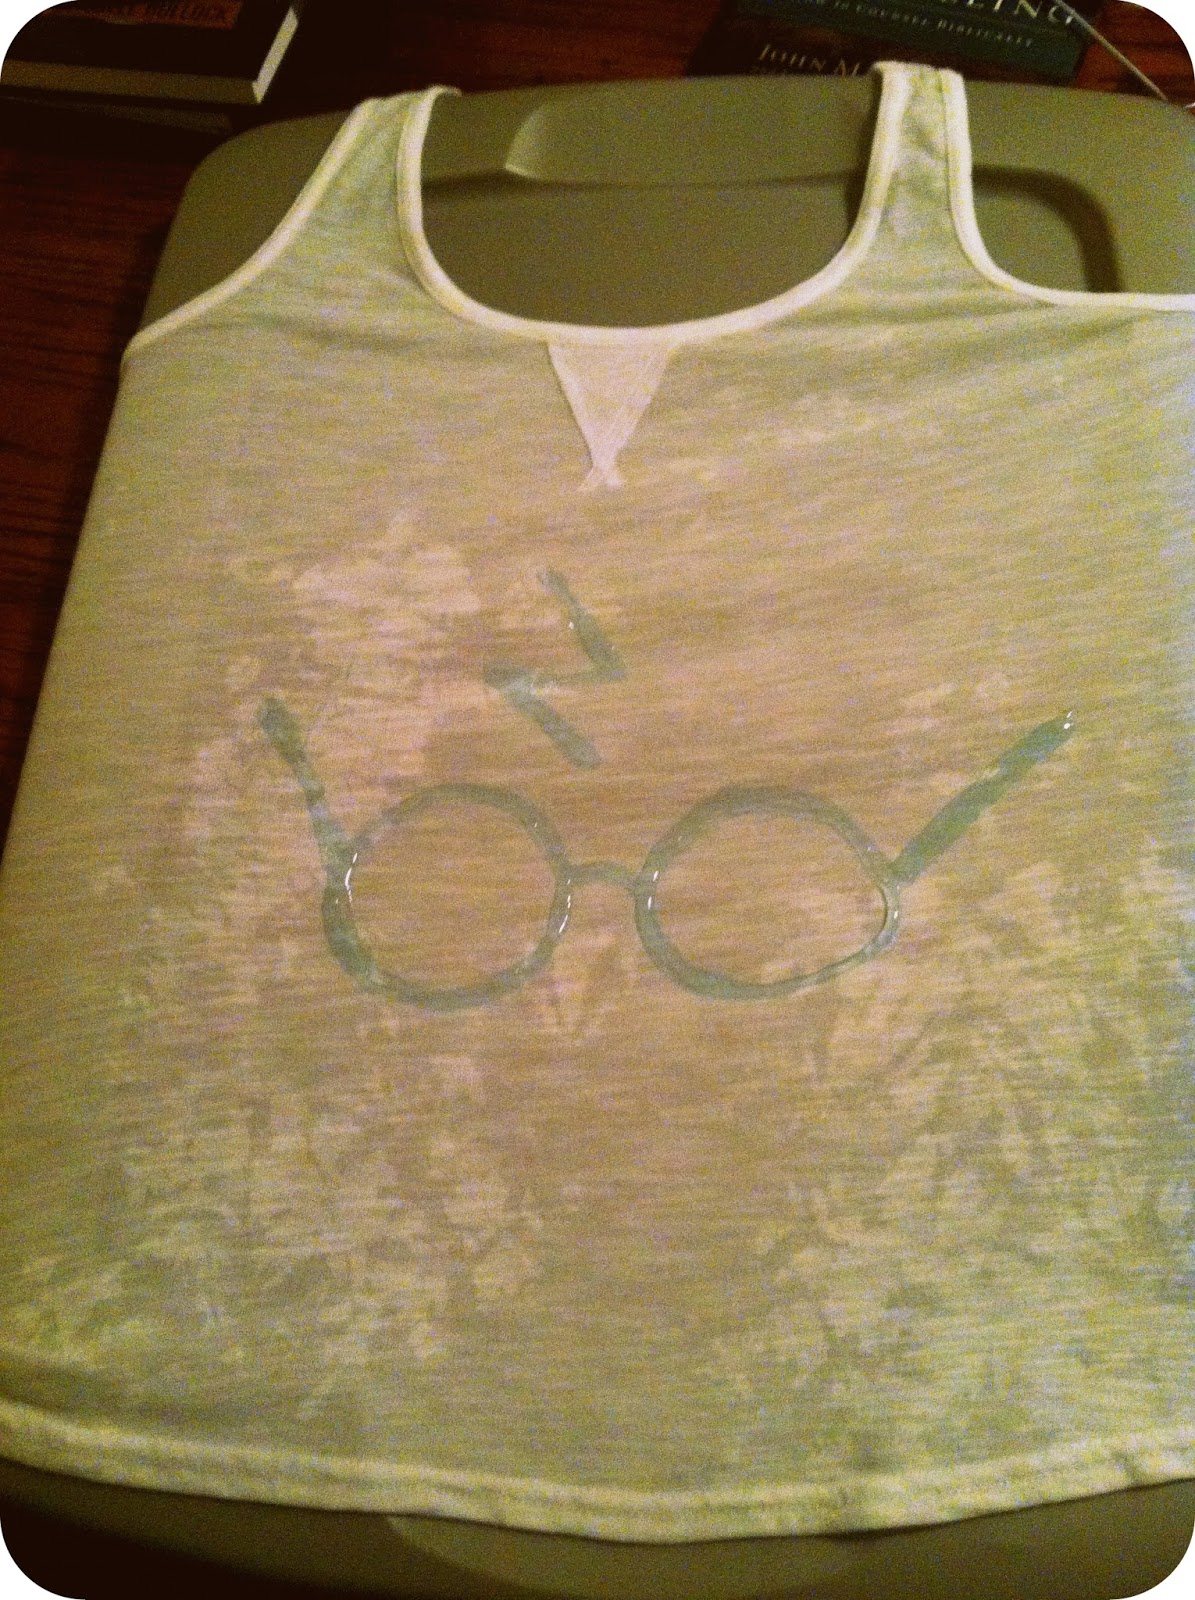
For our trip to the Wizarding World, my sister and I made our own dorky Harry Potter shirts! Ours didn't turn out perfect so I'll include some tips to avoid mistakes that we made ;)

What You'll Need:
a plain tee or tank
Elmer's Glue Gel- the blue one!
tub/bucket/sink for dying
a flat surface such as a storage bin lid for drying/designing
fabric dye 

What To Do:
First, soak your tee in water and completely wring it out. Place it over the lid or other flat surface.

Use the glue to draw your design on your tee. This part of the tee will remain the same color as the fabric. Make your designs clear and spaced-out in case the glue spreads a little bit. Leave the shirts flat to dry completely. If you want to add something to the back, be sure the front is completely dry before adding the design to the back. 


Obviously my design would have benefited from a pencil sketch to begin with- the pencil will wash out later if you want to draw out a design in pencil first. 


Allow the shirt to completely dry. Once dry, prepare your dye bath. We used Rit dye to achieve the colors we wanted. I used teal and Lindsey used a combination of tangerine and scarlet. Soak the shirts for 10-30 minutes, depending on how rich you want the color to be. 


Wring your shirts out and lay flat to dry. Once dry, rinse for about fifteen minutes in a bath of cool, soapy water. Then wash and dry in the washing machine like normal.

Ta-da!


My glue dripped a little bit during the drying process because I did not dry it flat #epicfail but you can learn from my mistake! It's such a simple process and we will totally do this again! 

Tutorial from Sweet Verbena 

Monday, February 11, 2013

A Fun Valentine's Day Gift for the Board Game Aficionado

You may absolutely adore Valentine's Day- the celebration of love- the hearts, sparkles, and chocolate abounding. 

Or you may completely detest this Hallmark Holiday, obviously used to commercialize something meaningful into a box of chocolate and red roses. 

I guess I fall somewhere in between. I do celebrate Valentine's Day but for the past four years it has been with homemade gifts and/or dinners. I thought I would share a really fun, inexpensive gift to make if either of you love board games! 


A personalized version of Monopoly! All you need is a foam poster board, a sharpie, scissors (and a box cutter if possible), a printer, glue and colored paper. Here's what I did:

Create your board!
  • Using a regular Monopoly board as a template, cut a square out of the foam poster board. Using a box cutter makes a cleaner cut. 
  • Draw your spaces around the board, in pencil then with Sharpie. 
  • Create your logo in the center, mimicking the official name and trademark information. 


Choose your properties
  • I incorporated places that we met, favorite date spots, places we lived, where we worked, etc. I printed small photos that represented each place to glue onto their space on the board. I listed the values of each space as represented on my regular Monopoly board. 
  • For railroads, I used the cities which we have lived in. Instead of Go, I made a Home space. Instead of Jail - the Doghouse. For Free Parking, I made a little Mt Bonnell space, a famous Austin lookout. I replaced the luxury tax with a credit card bill, and income tax with a tithe. 
  • I glued strips of colored paper on each section- you could also use different colored Sharpies and just color the tops! 
  • For houses and hotels, just cut uniform shapes from colored paper- quick and easy!


Create Chance and Community Chest cards
  • In my game Chance became "Get Lucky" cards and included an equal number of good and bad personalized fortunes and consequences. 
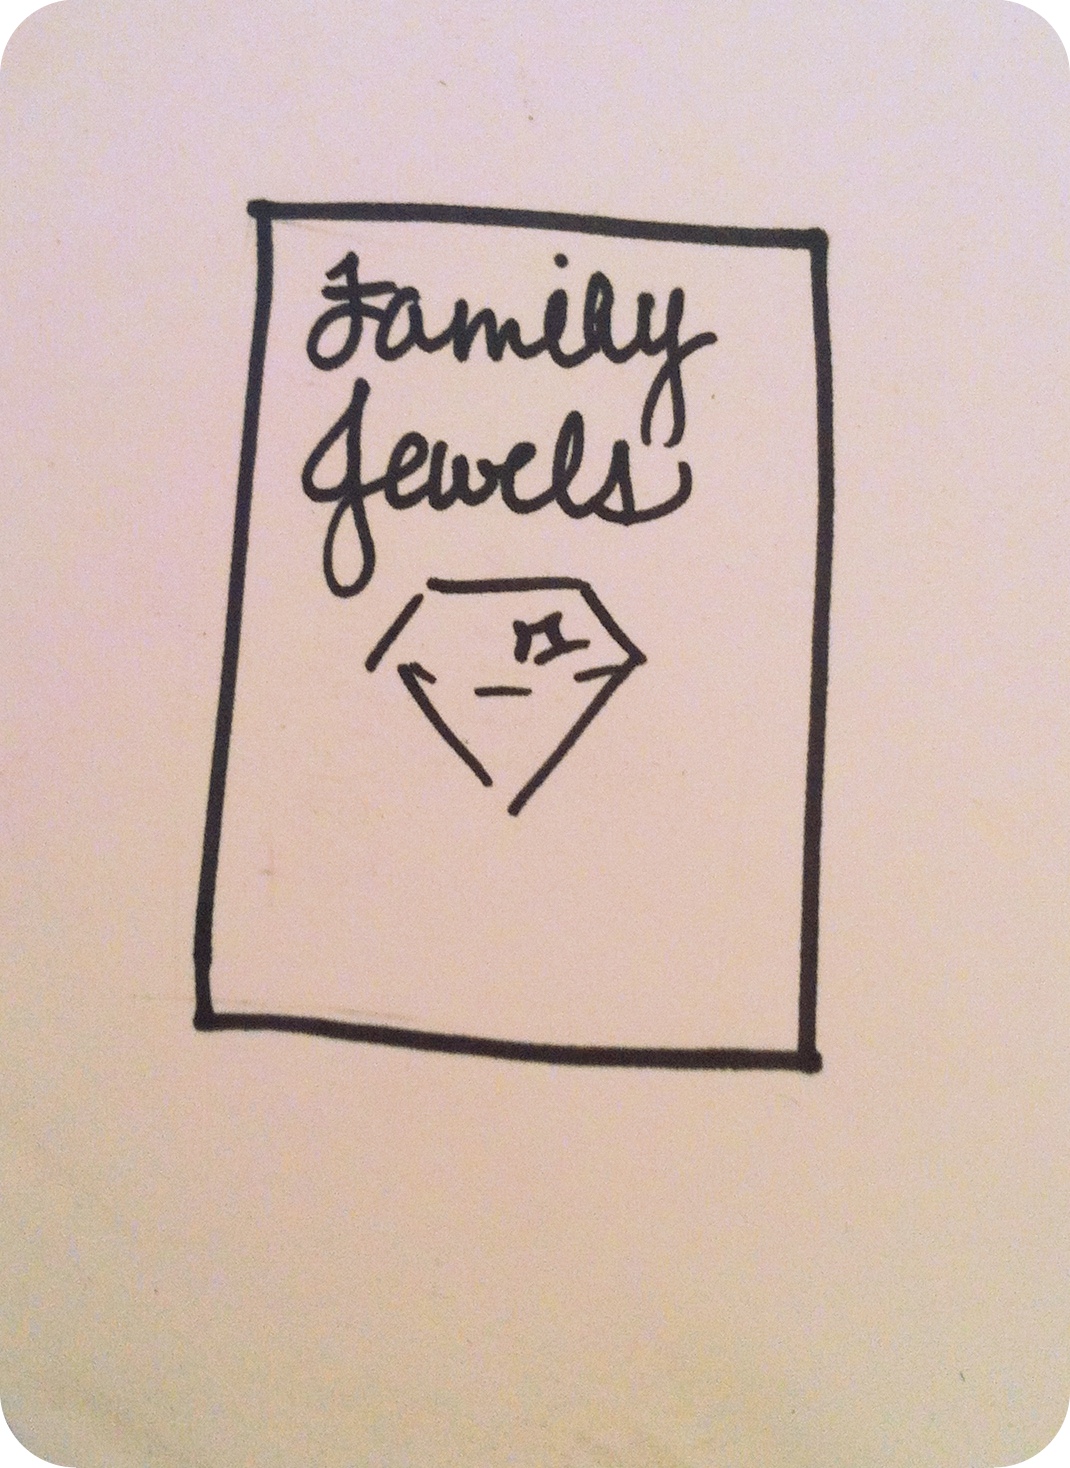
  • Community Chest became Family Jewels. I read through the official Monopoly versions and modernized/personalized them! 

Print or create monopoly money
  • I printed my own money by searching each monopoly denomination in a Google image search, re-sizing them all to be the same, creating sheets in a power point file, printing and cutting each out. 
  • You can always just sub in the money from your official board game though and save yourself some time!
Don't forget your game pieces
  • Create or find an item that represents each of you!
This project does take quite a bit of work, so be prepared to put in some time to make it perfect. I loved reminiscing about our relationship as I put this together. When I gifted it, we played a round and it was so fun to read through the cards and see how it all worked in actual game-play. And now, the board makes an adorable keepsake! 

Have you ever given or received a homemade Valentine's Day gift? 

Saturday, December 31, 2011

Best of 2011

2011 brought many changes, celebrations and opportunities.

I began blogging regularly this year.

I graduated from the University of Texas.

I worked at Hey Cupcake for six months.

We've had all kinds of fun, and spiritual breakthroughs, in our youth group.

And I accepted a full time position as the youth minister at OMBC.

It's been a good year.

Best of Live Laugh Lynae

Most Popular 
Here are my most read, pinned and commented on posts from this year!

Food Posts


Craft Posts

My favorites
These posts didn't necessarily have high views, or any comments 
but these are recipes that I've made multiple times
 because they're so dang good
and a personal post that meant a lot to me!


Happy New Years to all of you!
Best wishes as we look toward 2012!

Thursday, December 1, 2011

Handmade Christmas Gift Idea #1: Ruffled Jersey Scarf

I'm sure if you're a pinner, you've seen it. 

Well over Thanksgiving, my mother, sister and I 
all made scarves and wore them in our family photos. 
They took maybe thirty minutes each to make, 
(but we were watching football so we were a little distracted) 
involved no sewing and turned out really cute!

You'll need:
1 XL T-shirt (or larger)
Good scissors
fabric glue (optional)
Begin by cutting large circles from the T shirt. 
We used a paper plate as a guide. 
Don't worry if you have rough edges 
or if your circles aren't perfect. 
It won't matter later!


From the outside, cut a spiral in the circle, 
maintaining about the same width as you go. 


Gently pull on the two ends of the spiral to stretch the fabric slightly 
(but be careful because I ripped one of mine by stretching it too hard)
It forms a long ruffle!
The end which was the center of the circle will be
 more tightly ruffled than the outside.


Depending on your T shirt, you should be able to cut 8-12 circles.
Secure them together by tying a strip of t shirt fabric around the center with a knot
Or secure with fabric glue

Wear with your favorite fall/winter outfit for a cutesy pop of color!


We got our T shirts at JoAnn's for $2.50 each.
You could also upcycle old T shirts that you don't wear anymore.
Even if they have print on them, use several to make a multicolored ruffle scarf.
I did just that to make a gameday scarf for next football season!

This is definitely going to be a gift for my three roommates this year.
And at $2.50 each?
It might be a gift for all my aunts and cousins as well!

Have you attempted T shirt scarves? How did yours turn out?

Sunday, January 9, 2011

How to Decorate a Youth Room with No Money, Part Four: Recycle what you've got!


Remember when we trimmed off the insulation board to make the bulletin boards?
Well, I took that extra strip, spray painted it with the paint from our letter project, and painted on our theme verse with some extra face painting supplies.

And voila!
A lovely accent to the wall. I attached it with the same poster hangers used on the letters and bulletin boards.

Of course, there is a bit of discrepancy in the size of the words, but I like the perfectly imperfectness of it.

Friday, January 7, 2011

How to Decorate a Youth Room with No Money, Part Three: Banners

As someone who is victim to shopping Etsy for hours, I have come across a fabulous and easy to DIY trend- banners! Whether it's fabric, paper, triangles, circles, matching, coordinating or completely mismatched, I think they're adorable.

Here are some inspiration photos for birthdays and showers:


Love. I have one in my dining room actually. But I digress.

Martha Stewart has a lovely template to make your own! find it here

Now, the template makes 3" circles but I wanted to make mine bigger so I used the PrntScr button to capture the image and enlarge it. I cut each letter out of card stock, punched holes and threaded it with curling ribbon. I traced a paper plate onto coordinating scrapbook paper and matted half of the banners with it using double stick tape.


And here's the finished product! Easy peasy :)


How to Decorate a Youth Room with No Money, Part Two: Lettering

After Christmas we got an exciting new addition to our youth room.... a ping pong table! It was a big pain to put together but now that it's all set, we have a blast before and after our worship services playing floor pong. Anyway, the table came in a gigantic cardboard box. So, to recycle the box, I decided to cut out the name of our meeting space and our ministry to post on the wall. We have a lot of wall space so I thought this would be a great way to fill some of it.
So first I traced my letters on the cardboard and then I carefully used my utility knife to cut it out. If you attempt this, be very careful! I found it easiest to pull the blade toward myself (not directly of course, I'm not that dumb). But whenever I was holding the box tightly to have maximum control of the knife, I ended up with several cardboard cuts, which are way more intense than paper cuts. Ugh.

So, finally I ended up with this:

Because it's difficult to make accurate curves with the utility knife sometimes you have to kind of just stab the cardboard until you've made the curve. Consequently, some of the letters came out a little rough or had weird sharp or misshapen edges. I used scissors to clean all the edges up and round it all out.

Then I took all the letters outside to spray paint a sage green color. I found some leftover spray paint in the office from some Welcome signs.

I set up the letters against a tree one at a time (down wind after the first try) and sprayed them green.

Now, I started off with what was leftover in the cabinet. But after 7 letters and two coats each, that can was totally empty. So at Lowe's, I picked up this stuff-


It's really made for things like outdoor furniture, but it cost the same as the Krylon and worked soooo much better. With one can, I finished all of the rest of the letters with one coat. It covered all my outlines which I missed and was actually more the color I wanted. But it did take a little longer to dry. Even when I hung the letters, it was still a little sticky.


I hung each letter with an adhesive foam poster hanger, easily removable but strong enough to hold way more than a piece of cardboard.


So for not using a level and pretty much freehanding everything, I'm pretty pleased. I really like the whole imperfect look :)

Stay tuned for more budget decorating ideas!

How to Decorate a Youth Room with No Money, Part One: DIY Bulletin Board

Since Oak Meadow Baptist Church has opened the doors to our brand new building on October 31st, the youth room has remained sadly plain due to 1) my balance of role of youth minister and full time student and 2) the lack of decorations in our previous 12' by 12' room in the portable building.

We had a small bulletin board in the room in the portable but because it would look silly in our new giant space it is now adorning my office. So I began looking for a giant board for our youth room. Buuuuut if you've ever bought a bulletin board, a regular 2' by 3' bulletin is around $30. And I
was looking for something at least 6'. Then I found this post

So first, these are the supplies you'll need to make your own:

An 8'x4' foam core insulation board- about $10 at any home improvement store


3 yards of fabric in a fun print

Duct tape and a utility blade or X-Acto knife.


Start by measuring the width of your fabric. If you need to trim the insulation board, the utility blade should make it super simple. I just kind of freehanded it because I didn't want to walk back downstairs for my measuring tape.


Then, spread the fabric out and place the board on top, face down.


Use the duct tape to tightly secure the fabric around the board, starting with the corners.


This is easiest with two people to secure the fabric really tightly, but if you're working alone like I was, you can pull sections at a time and use small pieces of tape before covering the entire outline with tape.

When taping corners, it's a lot like wrapping a gift. Don't worry about how the tape looks because no one will see the back!

Then it's done! To mount it on the wall, I used adhesive poster hangers because the board is very light and I didn't have a drill on hand to use anyway. If you do this, just be sure and space several evenly along the back and press firmly onto the wall.


Add photos, fliers, or banners and tada! Done!

This project not only makes a great bulletin board but could be used as a cool headboard or a decorative art piece. Happy crafting!

Related Posts Plugin for WordPress, Blogger...